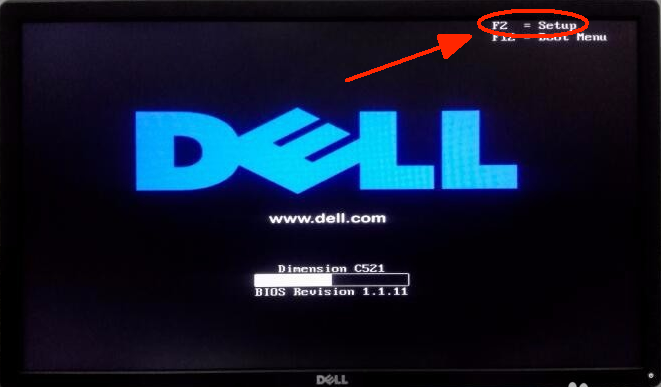
① Reboot the PC and access BIOS:
Immediately after the screen turns on, repeatedly press "F2" (most common)/ F1/F12/Delete key to access BIOS.
(Older models: CTRL + ALT + ENTER or Delete or Fn + ESC or Fn + F1)
Remark: (What if I keep on failing to access BIOS because the startup happens too fast?)
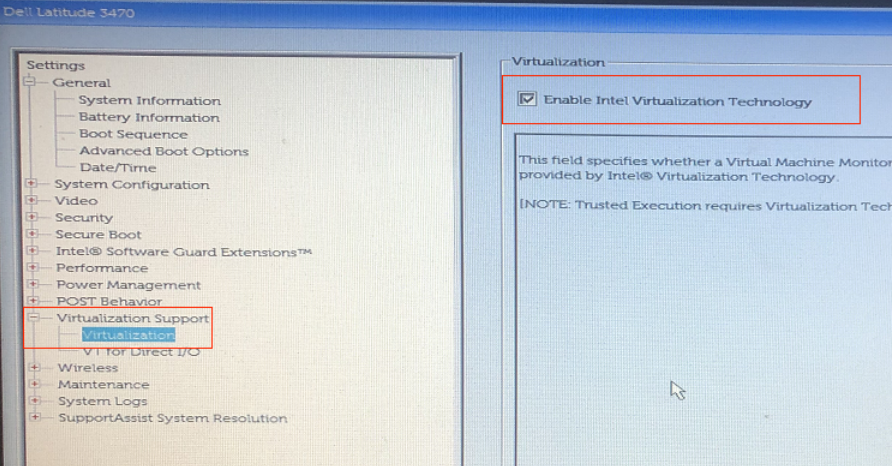
② Find the setting and enable VT:
Case 1:Enter BIOS SETUP → Click "Virtualization Support" → "Virtualization", Select "Enabled" → Press F10 to save the setting and exit.

Case 2:Under the "Advanced" tab, Click "Virtualization" → Change "Disabled" to "Enabled" → Press F10 to save the setting and exit.

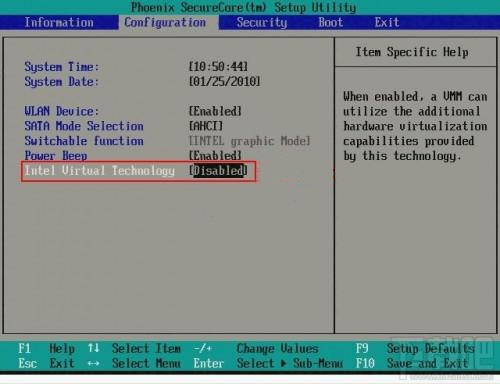
Case 3:Under the "Configuration" tab, click "Intel Virtual Technology" → Change "Disabled" to "Enabled" → Press F10 to save the setting and exit.
Remark: Different motherboard models may use different names for the term VT, some of the common ones include:
"Intel(R) Virtualization Technology", "Virtual", "Virtualization", "VT-X", and "SVM".